
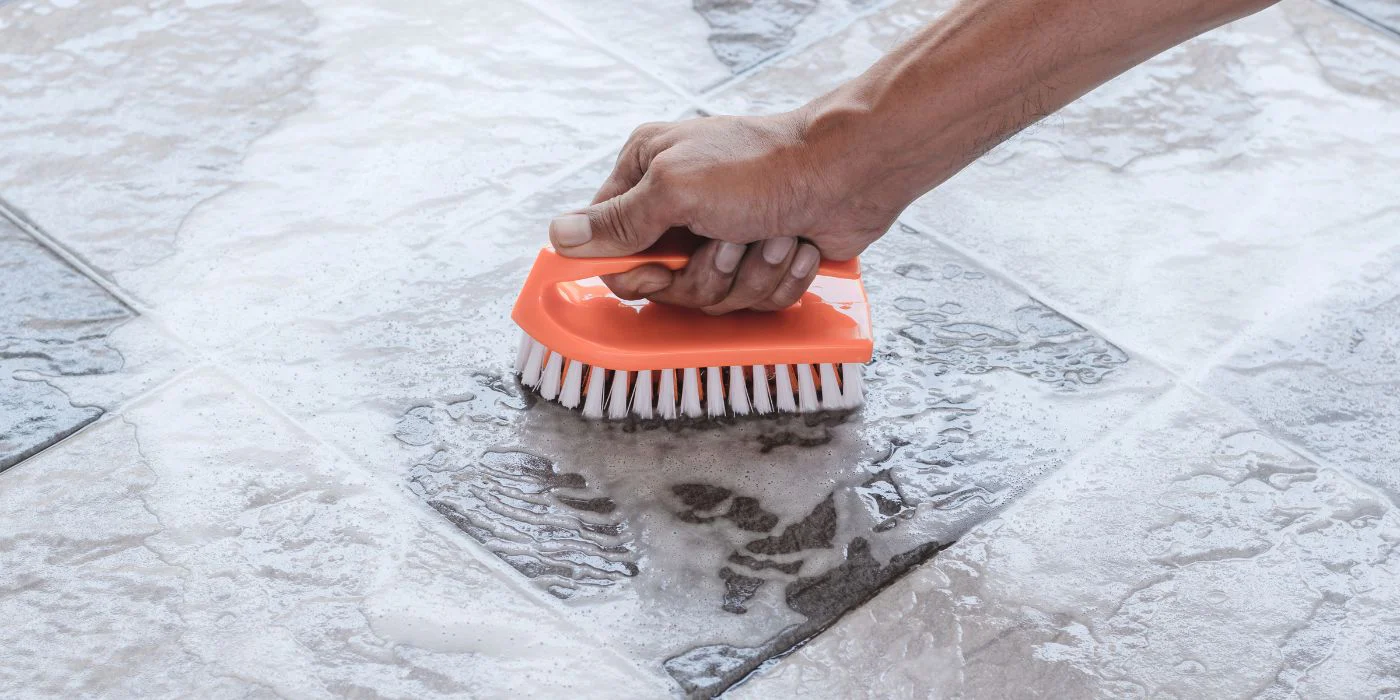
You mop the kitchen floor every Saturday. You use a decent cleaner, change the water when it gets cloudy, and scrub the grout lines with an old toothbrush when they start looking dingy. Yet every Monday morning, the grout looks dark again. Not dirty—dark. As if the mopping never happened. You blame the cleaner. You blame the grout color. You blame the previous homeowner. The real culprit is something you do every single time you clean, and stopping it is easier than you think.
Grout darkening is not a mystery. It is a predictable chemical and mechanical process that most homeowners accidentally accelerate while trying to prevent it. Understanding why your grout keeps getting darker — even after you just cleaned it — is the first step toward stopping the cycle for good.
The Grout Sponge Effect
Grout is not solid like tile. It is porous cement, riddled with microscopic channels that absorb liquid like a sponge. When your tile was new, a sealant filled those channels and created a protective barrier. But sealant wears away over time, usually within one to two years depending on foot traffic and cleaning habits. Once it is gone, the sponge opens for business.
Every time you mop, dirty water flows across the tile surface and settles into the grout lines. Your mop cannot reach down into those narrow channels effectively. Instead of removing dirt, you are essentially rinsing the tile while pushing contaminated water into the grout, where it gets trapped. As the water evaporates, the dirt, minerals, and cleaning residue stay behind—permanently embedded in the pores.
Run your finger along a grout line right now. If it feels rough or gritty, or if your finger comes away dirty, that is embedded soil that mopping will never remove. The roughness is the texture of accumulated grime crystallized inside the pores. No amount of surface scrubbing will reach it.
Why Your Mop Is Making It Worse
The traditional mop-and-bucket method is the single biggest contributor to grout darkening. When you dip your mop in a bucket of soapy water and drag it across the floor, you are spreading a thin film of dirty water across the entire surface. The mop picks up some dirt, but it pushes plenty of it around. The dirty water flows into grout lines and textured tile surfaces where it sits and dries, leaving behind soil and soap residue.
Think about what happens to your bucket of water as you clean. It starts clear and ends brown. That brown water is what you are depositing into the grout during the final passes. The mop is not a vacuum. It does not remove dirt from the environment. It redistributes it. And because grout sits lower than the tile surface, it acts as a collection basin for everything the mop pushes around.
Many common floor cleaners make this worse by leaving behind sticky residue. Soap-based products, in particular, create a film that attracts more dirt with every subsequent mopping. The more you clean with the wrong product, the faster the buildup accumulates.
The Mop Water Test
After your next mopping session, look at the water in your bucket. If it is cloudy or discolored, that same water is what just dried in your grout lines. The solution is not to change the water more often—though that helps. The solution is to stop using a method that deposits dirty water into porous channels in the first place.
The Hard Water Mineral Layer
If you live in an area with hard water, your grout faces a second enemy: mineral deposits. Calcium and magnesium in your tap water do not evaporate with the water. They crystallize inside the grout pores, creating a white or grayish film that traps dirt on top of it. Over time, this mineral layer becomes part of the grout structure itself.
Hard water stains are particularly stubborn because they are chemical, not just physical. The minerals bond with the cement in the grout, making them resistant to standard cleaning. You can scrub the surface all day and barely touch the deposits that have settled below the top layer. The result is grout that looks permanently stained even when it is technically clean.
Soap and hard water create a compound problem. The minerals react with soap to form an insoluble film that bonds to the tile surface. This film builds up with every mopping, creating the cloudy, dull appearance that makes tile look dirty even immediately after cleaning.
Moisture and the Mold Cycle
In bathrooms and kitchens, grout darkening has a biological component. Moisture from showers, cooking, and sinks seeps into grout lines and stays there because grout is slower to dry than tile. When grout stays damp, it becomes a breeding ground for mold and mildew, which appear as dark stains that look like dirt but are actually living organisms.
Poor ventilation makes this worse. Bathrooms without exhaust fans or windows trap humidity, keeping grout moist for hours after use. Kitchens with poor airflow allow steam from cooking to settle into grout lines behind the stove and near the sink. The mold that grows in these conditions does not just discolor grout — it can also degrade the grout structure over time, making it even more porous and susceptible to further staining.
Even regular mopping can contribute to moisture problems if you use too much water. Standing water that seeps into grout lines weakens the sealer and allows deeper penetration of contaminants. The key is damp mopping, not wet mopping—a distinction that most cleaning guides gloss over but that makes a significant difference in grout longevity.
How to Stop the Darkening Cycle
Breaking the cycle requires changing both your cleaning method and your cleaning products. Here is what actually works.
Switch to a Microfiber System
Microfiber mops and cloths trap dirt rather than pushing it around. The fibers are small enough to reach into grout lines and actually lift soil out instead of depositing it. Use a spray bottle with your cleaning solution instead of a bucket. Spray the floor lightly, mop with a dry or barely damp microfiber pad, and replace the pad when it gets dirty. This method removes soil instead of redistributing it.
Use pH-Neutral Cleaners
Throw out the all-purpose floor cleaner with the lemon scent. What you need is a pH-neutral cleaner specifically formulated for tile and grout. These products clean without leaving residue, without stripping sealant, and without reacting with hard water minerals. They are also gentler on the grout structure, which means less long-term degradation.
Avoid bleach, ammonia, and acidic cleaners like vinegar. Bleach may temporarily lighten stains but it weakens grout over time and does not eliminate mold at the root. Acidic cleaners can etch natural stone tiles and degrade grout integrity. Vinegar, despite its popularity in DIY cleaning circles, is too acidic for regular grout maintenance.
Dry the Grout After Cleaning
This step is almost never mentioned in cleaning guides, and it is the most important one. After mopping, go over the grout lines with a dry microfiber cloth or a squeegee. Remove the standing water before it can seep into the pores and evaporate, leaving dirt behind. In bathrooms, use a squeegee on shower walls after every use. This single habit prevents 80% of moisture-related darkening.
Reseal Annually
Grout sealant is not a one-time application. It wears away with foot traffic, cleaning, and time. High-traffic areas need resealing every six to twelve months. Less-used areas can go eighteen to twenty-four months. The test is simple: drop a few droplets of water on the grout. If they absorb within a few minutes instead of beading up, the sealant is gone, and it is time to reapply.
The Annual Grout Audit
Once a year, on the same day you check your smoke detectors, perform three quick tests on your grout: the water droplet test for sealant, the finger test for embedded dirt, and the visual comparison between high-traffic and low-traffic areas. If the high-traffic grout is significantly darker, you have embedded soil that needs professional extraction, not more mopping.
When Mopping Is Not Enough
Sometimes the darkening has progressed beyond what home cleaning can fix. If your grout has been dark for years, the soil has likely bonded with the grout material itself. At this point, surface cleaning is essentially useless. You have two options: deep cleaning or regrouting.
Professional tile and grout cleaning uses high-pressure hot water extraction — often at 200 degrees or more — combined with powerful suction that flushes soil out of grout lines rather than pushing it around. This is fundamentally different from consumer steam cleaners, which lack the pressure and extraction power to remove deeply embedded grime.
Regrouting is the nuclear option. It involves removing the old grout and applying new material. It is labor-intensive but gives you a completely fresh start. If you choose this route, consider epoxy grout instead of traditional cement-based grout. Epoxy is non-porous, does not require sealing, and resists staining far better than cement. It costs more upfront but eliminates the darkening cycle entirely.
Prevention Is the Real Solution
The homeowners who never struggle with dark grout are not cleaning more often. They are cleaning differently and preventing the conditions that cause darkening in the first place.
- Place mats at entryways to reduce the amount of dirt and grit tracked onto tile floors. Shoes carry abrasive particles that grind into grout with every step.
- Ask family to remove shoes in high-traffic tile areas. Bare feet leave natural oils that stick to porous surfaces, but these oils are easier to clean than tracked-in grime.
- Wipe up spills immediately before they can seep into grout. The longer a liquid sits, the deeper it penetrates. Coffee, wine, and cooking oils are particularly stubborn once absorbed.
- Run the exhaust fan during and after showers for at least 20 minutes. Humidity control is the single most effective mold prevention strategy.
- Avoid steam mops on unsealed grout. The excess moisture penetrates grout lines and can weaken the sealer or the grout itself.
Grout darkening is not a sign that you are a bad housekeeper. It is a sign that you are fighting a porous material with the wrong tools. Change the method, change the product, and change the habit of leaving water behind. The grout that has been darkening for years will not lighten overnight. But the grout you maintain going forward will stay the color it was meant to be.
Related Articles
- How to Clean Gutters Safely Without a Tall Ladder
- Refrigerator Coils Collect Dust and Raise Your Bill
- Simple Guide to Washing Machine Care for Longer Use
- Easy Ways to Remove Hard Water Marks From Glass
- Why Garbage Disposals Smell and How to Freshen Them
- How to Clean Air Vents Without Spreading Dust Around
- Common Reasons Laundry Feels Damp After Drying Fully
Sources and References
- Jeffries Cleaning. “Why Grout Gets Dirty—and How Professional Cleaning Brings Back The Shine.” September 24, 2025. https://jeffriescleaning.com/why-grout-gets-dirty-and-how-professional-cleaning-solves-it/
- Columbia SCC Carpet Cleaning. “Why Tile and Grout Start Looking Dirty Even After Mopping.” 2025. https://columbiasccarpetcleaning.com/why-tile-and-grout-start-looking-dirty-even-after-mopping/
- Restoration Stone Works. “You’ll Never Mop the Same Way Again.” 2025. https://restorationstoneworks.com/chicago-you-will-never-mop-the-same-way-again/
- Cleaning by Jen. “Why Your Tile Floors Look Dirty No Matter How Much You Mop.” June 16, 2025. https://www.cleaningbyjen.com/blog-1/2025/6/16/why-your-tile-floors-look-dirty-no-matter-how-much-you-mop-and-what-actually-works
- Beyond Clean Tile. “How to Keep Grout Clean Longer.” June 3, 2025. https://beyondcleantile.com/how-to-keep-grout-clean-longer/
- Desert Tile & Grout Restore. “Is Your Grout Turning Dark? The Top Causes of Grout Discoloration.” January 6, 2025. https://www.desertstonerestore.com/is-your-grout-turning-dark-the-top-causes-of-grout-discoloration
- Coconut Cleaning Co. “Why Grout Turns Dark (And How to Prevent It for Good).” January 23, 2026. https://coconutcleaningco.com/why-grout-turns-dark/
- SolidCare. “5 Common Tile & Grout Problems in Commercial Buildings.” August 8, 2025. https://solidcare.com/common-tile-and-grout-problems-prevention/
- TruClean Surface Care. “Stop Grout Discoloration: Proven Prevention Tips.” May 10, 2026. https://trucleansurfacecare. com/stop-grout-discoloration-proven-prevention-tips-for-humid-florida-homes-and-businesses/
- Miramar Carpet Cleaning. “How to Prevent Tile and Grout Stains in High-Traffic Areas.” September 24, 2025. https://miramarcarpetcleaningaz.com/blog/how-to-prevent-tile-and-grout-stains-in-high-traffic-areas/
- Tile Doctor. “What Causes Grout Discoloration?” July 19, 2023. https://tiledoctor.com/what-causes-grout-discoloration/
- Sparkle Surface Care. “Grout Discoloration in Showers: Causes & Fixes.” 2025. https://sparklesurfacecare.com/grout-discoloration-in-showers-causes-fixes/

Elena Rodriguez is a certified home inspector and DIY educator specializing in maintenance routines, home repairs, decor optimization, office setup, and smart device integration. She helps homeowners tackle projects with confidence using tools they already own. Her writing focuses on actionable steps for cleaning, fixing, arranging, and automating. Elena holds a degree in Construction Management and contributes to home improvement resources regularly.