
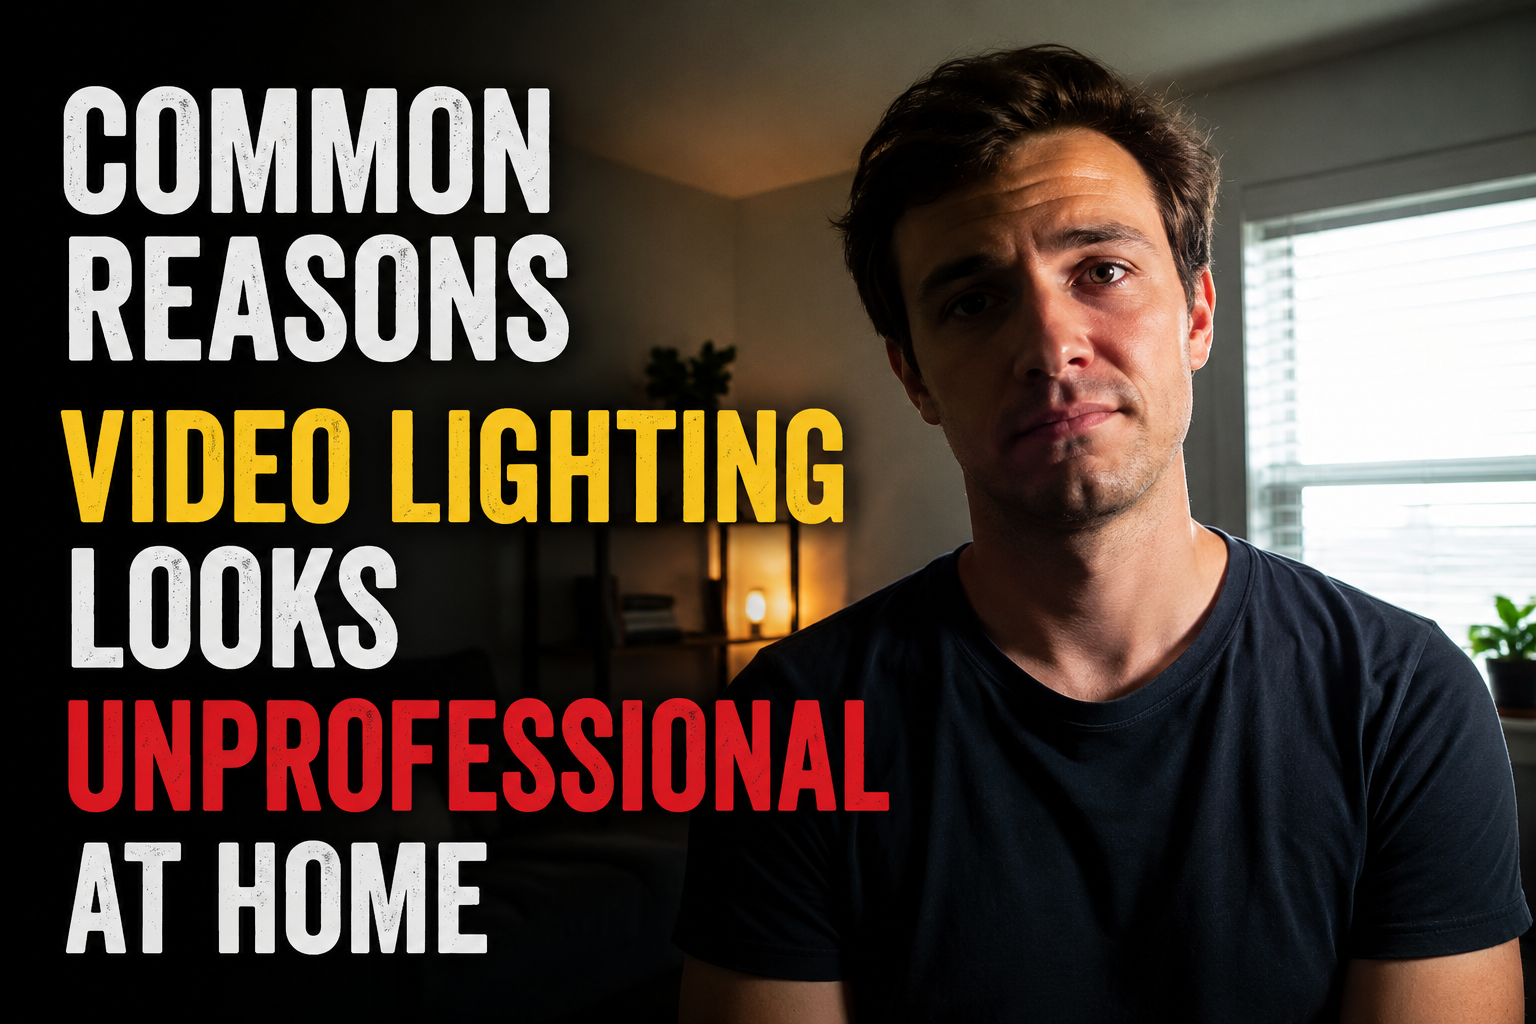
You join the video call, confident that your background is tidy and your shirt is pressed. Then you see yourself on the preview screen. Your face is half in shadow. The window behind you turns you into a silhouette. The overhead light casts dark circles under your eyes that make you look like you have not slept in days. You adjust your angle. You open a window. Nothing helps. The lighting is wrong, and everyone on the call can see it.
Bad video lighting is not a vanity problem. It is a communication problem. When people cannot see your face clearly, they cannot read your expressions. They miss your micro-reactions, your subtle nods, your raised eyebrows. The conversation becomes harder because the visual channel is degraded. And because you know you look bad, you are less confident, which affects how you speak and present your ideas.
The frustrating part is that fixing video lighting is not expensive or complicated. Most people look unprofessional on camera for one of four reasons, all of which can be corrected in under ten minutes with equipment you probably already own.
Reason 1: You Are Backlit
This is the most common and most damaging lighting mistake. You place your desk in front of a window because the view is nice and the natural light feels healthy. Then you turn on your camera and discover that the window has turned you into a faceless shadow.
Cameras work by exposing for the brightest area in the frame. When a window sits behind you, the camera lowers the exposure to compensate for the daylight, which plunges your face into darkness. The result is a silhouette that looks like you are broadcasting from a witness protection program.
The fix is simple: move your desk so the window is to your side or in front of you, not behind you. If you cannot move the desk, close the blinds and add a lamp in front of you to balance the exposure. The goal is to make your face the brightest thing in the frame, not the background. As cinematographer Michael Hession notes, “The first rule of natural light is don’t have it behind you.” If you’re backlit like this, your face is going to look too dark or your background’s going to look too bright.”
If your only window is behind you and moving is impossible, hang a sheer curtain to diffuse the light and add a strong desk lamp aimed at your face from the front. The curtain reduces the brightness of the background. The lamp brings your face up to match it. The camera can now expose for both without sacrificing either.
Reason 2: Your Overhead Light Is Destroying Your Face
Overhead lighting is the second most common culprit. The ceiling fixture in most homes is a single bulb that casts light straight down from above your head. This creates shadows under your eyes, nose, and chin—the exact areas you want illuminated. The result is a tired, hollow appearance that no amount of sleep or coffee can fix.
Cinematographer Katherine Castro, who has worked on films like “The Equalizer” and “Spotlight,” warns that overhead lighting tends to create harsh shadows and should be avoided for video calls. Lamps and natural light positioned at eye level produce far better results.
The solution is to disable the overhead light during calls and rely on side or front lighting instead. A desk lamp with a lampshade placed slightly to one side of your screen creates soft, diffused light that wraps around your face without creating harsh shadows. If you wear glasses, position the lamp high enough that the reflection does not appear in your lenses. The reflection is a telltale sign of poor lamp placement that distracts viewers from what you are saying.
Reason 3: You Are Mixing Color Temperatures
Color temperature is the invisible factor that makes you look orange in some rooms and blue in others. It is measured in Kelvin, and different light sources produce different temperatures. Natural daylight is around 5600K—cool and slightly blue. Standard incandescent bulbs are around 2700K — warm and yellow. LED bulbs vary widely depending on their settings.
When you mix these sources, your camera struggles to white balance correctly. Your face might look orange from the lamp while your background looks blue from the window. Or your skin might shift color as you move slightly, causing the camera to hunt between the two dominant temperatures. The result is an unprofessional, muddled appearance that makes viewers subconsciously uncomfortable even if they cannot identify why.
The fix is to use one dominant light source for calls. If you have a window, use daylight-balanced LED bulbs near 5600K to match it. If you prefer warm indoor lighting, close the curtains and rely entirely on lamps with matching bulbs. Do not mix warm and cool sources in the same frame. Filmmaker David Tan recommends looking for lights with a high Color Rendering Index (CRI) near 100, which produces the most natural skin tones on camera.
The Color Temperature Cheat Sheet
- 2700K: Warm white, cozy, yellow-orange—good for evening relaxation, bad for video calls
- 4000K: Neutral white, balanced—acceptable for calls but slightly flat
- 5600K: Daylight, cool blue-white—ideal for matching natural window light
- 6000K+: Very cool, clinical—can make skin look pale and unhealthy
Reason 4: Your Light Is Too Harsh or Too Dim
Lighting exists on a spectrum from harsh to soft. Harsh light comes from a small, bright source like a bare bulb or direct sunlight. It creates sharp shadows and highlights every skin imperfection. Soft light comes from a large, diffused source like a window with a sheer curtain or a lamp with a thick shade. It wraps around your face and minimizes texture.
Most home offices suffer from one of two extremes. Either the light is too dim, forcing the camera to boost its ISO and introduce grainy noise into the image. Or the light is too harsh, coming from a single unshaded source that creates dramatic shadows and blown-out highlights. Neither looks professional.
The ideal is soft, even illumination that fills shadows without eliminating them entirely. A small amount of shadow adds dimension and prevents the flat, washed-out look of over-lighting. The easiest way to achieve this is the “bounce” technique: aim your lamp at a white wall or ceiling near your desk, letting the reflected light illuminate your face indirectly. This turns the entire wall into a large, soft light source.
If you need more brightness, add a second light on the opposite side of your face at roughly half the intensity of the first. This “fill light” softens the remaining shadows without creating a second set of competing shadows. The combination of a key light and a fill light is the foundation of professional portrait lighting, and it works just as well for a webcam as it does for a film set.
Three Lighting Setups Ranked by Effort
Not everyone has time to build a studio. Here are three approaches that match different levels of commitment and budget.
| Setup Level | What You Need | Time to Set Up | Result |
|---|---|---|---|
| Quick Fix | Existing desk lamp, window repositioning | 2 minutes | Eliminates worst shadows and backlight |
| Balanced Setup | Two desk lamps with matching bulbs, sheer curtain | 10 minutes | Even, flattering light with natural dimension |
| Professional Setup | Key light + fill light + backlight, adjustable color temp | 30 minutes | Studio-quality separation from background |
The quick fix is enough for most internal meetings. The balanced setup is ideal for client calls and presentations. The professional setup is only necessary if you are on camera daily for high-stakes meetings or if you record content for public distribution. Most people overestimate what they need and underestimate what they already have. A $15 lamp repositioned correctly often outperforms a $200 ring light placed poorly.
Common Lighting Myths That Waste Money
Before you buy any equipment, know what not to buy.
Myth: Ring lights are the best solution. Ring lights are popular because they are compact and easy to use, but they create a distinctive circular reflection in your eyes and glasses that can be distracting. They also tend to flatten your features by providing overly even, front-facing light. If you use one, position it slightly above and to the side rather than directly in front of your face. Filmmaker David Tan recommends moving ring lights farther from your face to distribute the light more evenly and reduce the reflection intensity.
Myth: You need a special “Zoom light.” Any adjustable LED desk lamp with a color temperature near 5000K and a CRI above 90 will perform as well as lights marketed specifically for video calls. The marketing adds cost, not quality.
Myth: Brighter is always better. Over-lighting washes out your features and creates harsh highlights on your forehead and nose. The goal is balanced exposure, not maximum brightness. Your face should be well-lit but not glowing.
Myth: Natural light is always best. Unfiltered direct sunlight is extremely harsh and shifts throughout the day, forcing your camera to constantly adjust. North-facing windows provide the most consistent natural light. East and west windows create dramatic changes that require you to reposition lights every hour. South-facing windows are often too bright and need diffusion.
The 60-Second Pre-Call Check
Before every important call, open your camera preview and ask three questions: Is my face the brightest thing in the frame? Are there harsh shadows under my eyes or chin? Does my skin look natural in color, not orange or blue? If any answer is no, adjust one light and check again. One small adjustment—moving a lamp six inches or closing a blind—usually fixes the problem.
When Lighting Cannot Save the Setup
Sometimes the room itself is the problem. A dark basement with no windows will always struggle, no matter how many lamps you add. A room painted dark red or navy will absorb light and cast color onto your skin. A cluttered background with competing light sources will always look chaotic regardless of your face lighting.
In these cases, the solution is not more lights. It is a different location. Move to the room with the best natural light, even if it is not your usual workspace. A kitchen table near a window often produces better video than a dedicated office in a windowless corner. The best lighting setup is the one that works with your space, not against it.
Your video presence is part of your professional brand. In a world where first impressions happen on screens, lighting is not an afterthought. It is the foundation of how you are perceived before you speak a single word. The good news is that the difference between looking tired and looking prepared is often just the position of a lamp.
Related Articles
- Why Desk Height Causes Wrist Pain During Long Calls
- How to Position a Monitor to Stop Daily Neck Strain
- Background Noise Ruins Video Calls and This Helps
- Simple Guide to Creating a Focus Zone in a Shared Home
- Easy Ways to Store Papers Without a Filing Cabinet
- Why Cheap Chairs Hurt Your Posture More Than You Think
- How to Set Boundaries When Family Shares Your Workspace
Sources and References
- Webex Blog. “The Best Lighting for Video Conferencing, According to Experts.” September 18, 2024. https://blog.webex.com/collaboration/video-conferencing/best-lighting/
- Wired. “How I Fixed My Webcam Lighting for Zoom Calls.” May 7, 2026. https://www.wired.com/story/how-to-fix-bad-webcam-lighting/
- Remtek Workplace. “Home Office Lighting Guide with Tips.” February 23, 2026. https://remtekworkplace.com/knowledge-hub/home-office-lighting/
- TCP Lighting. “Home Office Lighting — Video Conferencing & Zoom Lighting.” April 12, 2024. https://www.tcpi.com/home-office-lighting-video-conferencing-zoom-lighting-tcp/
- Colbor. “How to Set Up Lighting for Home Office Video Conference.” October 13, 2023. https://www.colborlight.com/blogs/articles/set-up-lighting-for-home-office-video-conference
- Eureka Ergonomic. “Best Lighting Setup for Video Calls in a Home Office.” November 19, 2025. https://eurekaergonomic.com/blogs/eureka-ergonomic-blog/video-call-lighting-home-office
- Philips Hue. “Smart Home Office Lighting for Focus.” February 18, 2026. https://www.philips-hue.com/en-us/explore-hue/blog/home-lighting-office
- Camo. “How to Get the Best Lighting on Video Calls.” June 9, 2021. https://camo.com/support/how-to/lighting-video-calls
- Savage Universal. “Tips for Using a Ring Light for Video Conferencing.” July 14, 2022. https://savageuniversal.com/us-en/blog/tips-using-ring-light-video-conferencing/

Elena Rodriguez is a certified home inspector and DIY educator specializing in maintenance routines, home repairs, decor optimization, office setup, and smart device integration. She helps homeowners tackle projects with confidence using tools they already own. Her writing focuses on actionable steps for cleaning, fixing, arranging, and automating. Elena holds a degree in Construction Management and contributes to home improvement resources regularly.